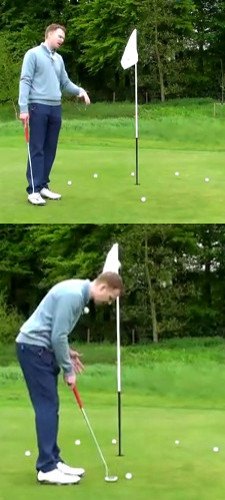
To help you develop your speed control skills, we have a simple drill below. This is one of the easiest putting drills to use, and yet it is one of the most effective in teaching you how to control the speed of your putts. In this drill, we are going to be focused on managing speed for medium-length putts – those in the 15 – 25-foot range. For longer putts, you don’t really need to use a drill so much as you simply need to keep practicing. When you are in the mood to practice long putts, just pick out a hole on the other side of the green and do your best to roll the ball the proper speed. Repeating that process over and over is sure to improve your touch.
When you want to practice medium-length speed control, give the following drill a try.
- Find a relatively flat section on the putting green where you can setup for a 15-foot putt. Place five golf balls down where you intend to putt from, and walk up to the hole. You are going to place five or six golf tees in the ground behind the hole, using your putter as a measuring stick. Lay your putter on the ground, with one end at the cup and the other end extending beyond the hole (on the opposite side from where you will be putting). Rotate the putter along the ground as you add tees, so that you wind up with a semi-circle behind the hole. This is going to serve as your target during the drill.
- Now that you have a semi-circle of tees wrapping around the back of the hole, you can walk back and get ready to hit your first putt. There are two basic goals that you will be trying to accomplish with each putt. First, of course, you will be trying to make the putt. Knocking the ball into the hole is always a good result, so that is your main objective. However, if that doesn’t happen, your secondary goal is to leave the ball within the semi-circle. As long as the ball stops within that semi-circle behind the cup, you should have a pretty easy second putt to finish up.
- Hit all five putts and see how you do. You have gone through the drill successfully if you are able to send each of the five putts either into the hole, or into the semi-circle. It should be said up front that this is going to be much harder than you expect. It’s easy to have one of your putts come up short, or have one zoom through the semi-circle and beyond. If you do manage to succeed with all five putts, walk up and tap-in the putts that didn’t fall in, just to finish off the drill properly.
This is a great drill for a couple of reasons. For one thing, it encourages you to actually get the ball all the way to the hole. If you leave your 15-foot putts short, you aren’t going to make any of them – and that’s no good. By aiming for the semi-circle past the hole, you will be trying to produce speed that gives the putt a chance to fall in while still not leaving you too much work coming back. Also, by hitting five putts in a row, you will learn how to consistently produce the same speed with stroke after stroke.
Once you get the hang of this drill on a flat 15-footer, you can feel free to experiment with it in different situations. Try using it on longer putts – which will be really difficult – and try using it on slopes as well. As you get the hang of it, you’ll start to notice how it is improving your speed control. Consider making this a regular part of your practice putting routine to keep striving toward better touch moving forward.


